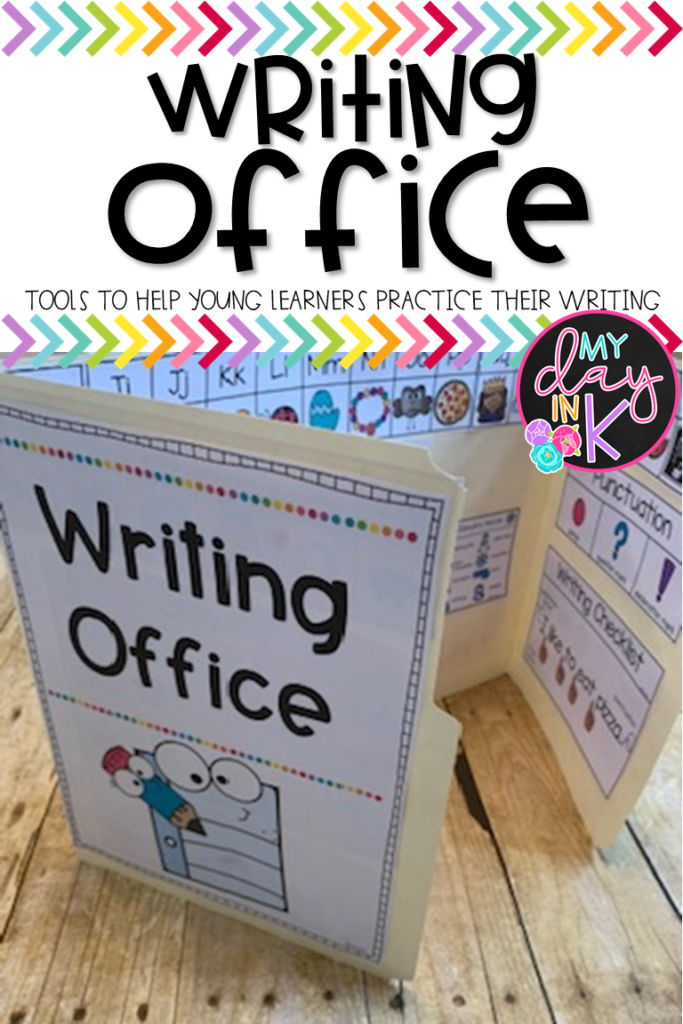
Writing Offices in the Classroom
If you were to ask me my favorite time of the school day, I would hands down tell you it’s our writing time, and particularly our writing workshop time.
I just love the format of that block of time where I have the opportunity to teach a mini-lesson and then my students have the chance to go off on their own and try it using the writing paper of their choice. My students are actively engaged and I feel like I have the chance to walk around and work with several students either in a small group or individually.
Not to mention, it is always exciting to see how far they have come from the beginning of the year to the end. It’s such a motivating time of the day.
In Kindergarten, one area my students always struggle with is having the confidence to stretch out the words they are trying to spell and write the sounds that they hear. Often times I will have students come up to me and ask, “How do you spell?!” In a class of 20 plus students that definitely makes for a lot of chaos and confusion.
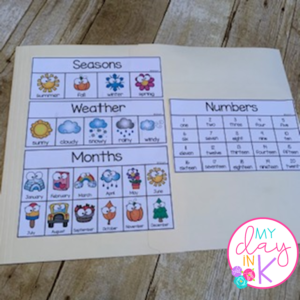
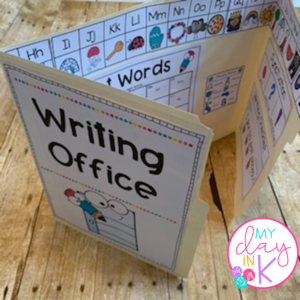
One way I have helped foster independence and confidence with my Kindergartners during our writing time is with a writing office.
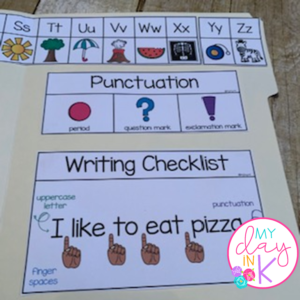
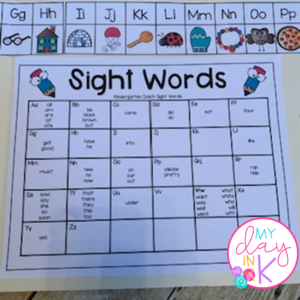
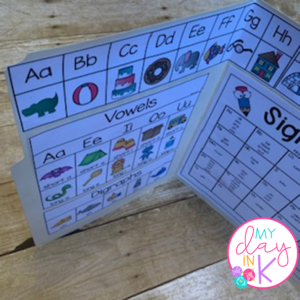
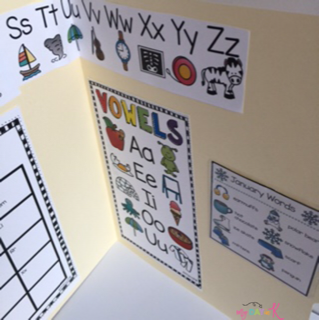
Now my students have a variety of writing tools at their finger tips within their writing office for them to use as they practice their writing. My students are eager to try to write on their own as they look within their writing office for help. Not to mention, it is portable and perfect to use anywhere in our classroom.
Plus, an added bonus is they LOVE to have their own special space to practice their writing.
It’s a win-win for everyone because I can concentrate on the student or students I am working with without getting interrupted and my other students can refer to their office while they are waiting for me to help.
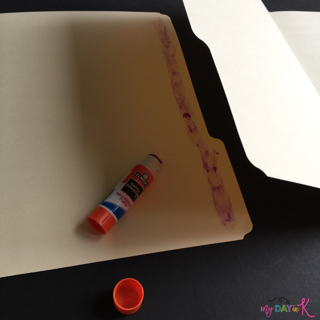
To assemble each writing office I do the following steps: