Using Visual Directions in the Classroom

Giving directions in the kindergarten classroom is an art form. Not because giving directions is difficult, but because getting students to listen and follow directions is TOUGH! As a kindergarten teacher, you are competing with very short attention spans, as well as sensory distractions around the room. At the beginning of the school year, it’s especially difficult to hold student attention. Everything is new and overwhelming, and students are unlikely to retain everything the first time you say it.
I have a teacher truth for you. This is going to sound harsh, but I promise it’s coming from my own experience. If you look around the room, and multiple students are not following your directions, it’s likely not their fault. It’s yours. Yikes.
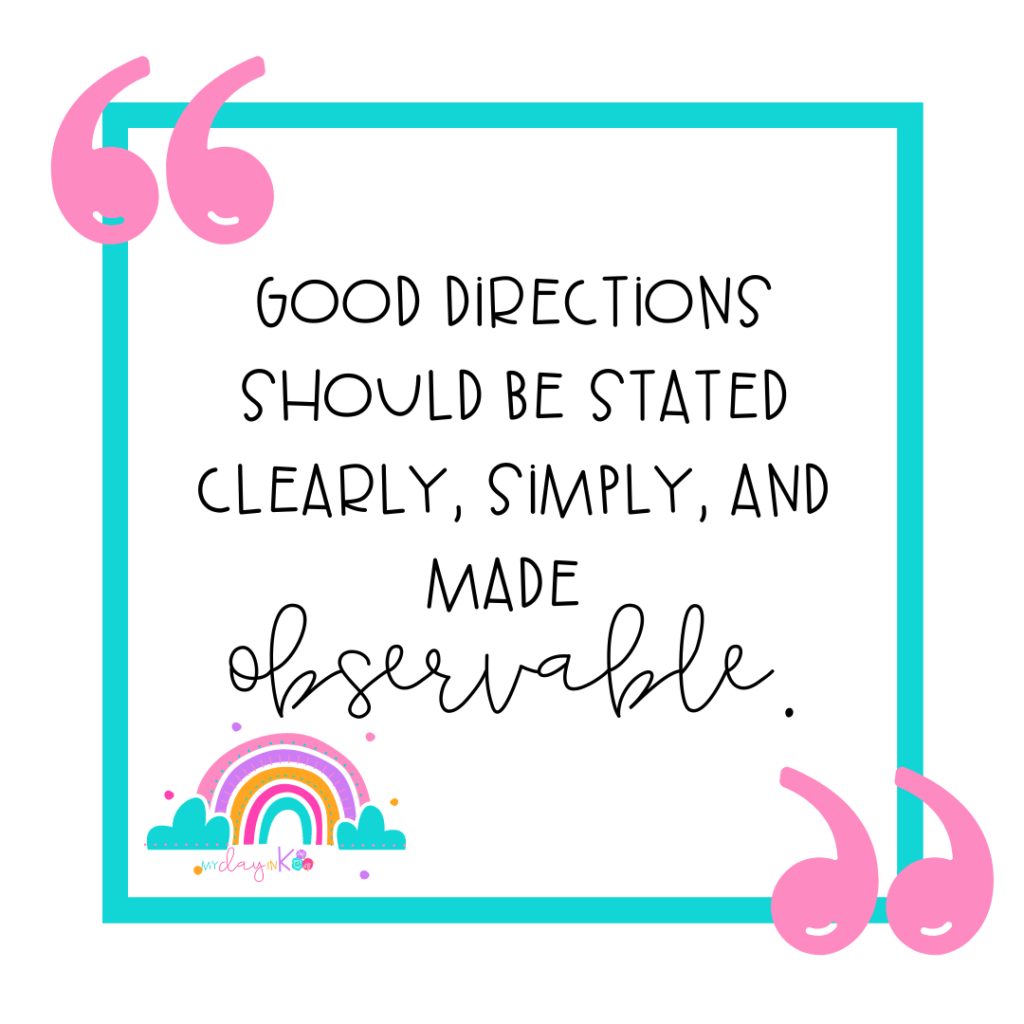
So, how do we ensure that the directions we give are actually followed? We follow best practices for giving directions in the first place! What are those best practices? Good directions should be stated clearly and simply, and made observable. Stating directions clearly and simply is common sense, right? Don’t over-complicate what you want students to do, and you increase their chances of success. Making directions observable is a different story. How do we do this?

Visual Directions
Visual directions are a great way to make your directions “observable” for your students! Observable directions simply means that your students can see what they need to do. You can do this first by modeling. Act out exactly what you want students to do during a center, when they are unpacking, when they come to small groups, etc.
But, after you finish modeling, many of your students will forget exactly what needs to be done. This is where the visual directions come in to play! Visual directions are simply graphics or visuals you display to remind students of the order that directions are followed.
How to Use Visual Directions
I recommend modeling what to do during a routine or activity. Act it out completely one time. Then, re-act it out but place visual cues on a chart, white board, or wherever your students can easily see them. If the directions are to color, cut, then glue during a craft, begin by acting this out. Color a little bit, cut a piece out, then glue it where it needs to go. Then, repeat the process but instead of acting it out, hold up a crayon icon, scissors icon, and glue icon. Hang the icons up in order so students SEE what needs to be done!
This probably sounds like a lot of repeating yourself. At the beginning of the year, it’s necessary. Over time, you may be able to wean some groups of students off of direction visuals. Others will still need them, so you may need to place the visuals on student desks, or pull a small group aside to repeat the directions. But, at the very beginning of kindergarten, your time is better spent repeating yourself twice with visual at the beginning of each new task. Without taking the time up front, you run the risk of repeating yourself many times over with each student!
Getting Started
If you want done-for-you direction visuals, you can grab my pre-made set HERE. This saves you the time it takes to make them yourself! Additionally, if you’re looking for more support about setting up your school year the right way, check out The First 25 Days of K! This new course will be open for enrollment this summer, and we are covering all of the pieces teachers need to start the year off right! You can learn more about The First 25 Days of K HERE, and sign up for the waiting list HERE!

